Want to fix it without a problem Awnlux awnings? You’re in the right place! In fact, this quick guide will get you installing your awning sooner and keep the process playful!
Start by gathering together all of the tools you will need to use. Make sure everything is prepared before you start. For high places, have a ladder; to make holes, use drill; sized is being check by measuring tape, for holding it all together screws needs to used and the brackets particular so that these holdeth on awnings. All your gear must be in good working order.
Step 2: Measuring the SpaceOnce you have all of your tools together, it is time to measure the area on which you want to place awnings. I would like to highlight that this is super important! You will need careful measurements so that you can purchase properly measured awnings. Find out the width and height of the area using tape. Record your measurements to remember it by.
Let us now move forward towards the installation of your awnings! Step 1: Attach the brackets to their designated spot on the wall where you will be installintg your awnings. Make sure they are evenly spaced They must be straight and level. To secure the awnings you must next screw in brackets. Be certain that screws are tight.
After brackets are connected, ensure that they are securely attached to the wall. You also want to ensure that the awnings are securely seated into the brackets. Assuming everything worked, great you are almost done! It can be tough to mount the awning or have any queries then you should definitely ask a friend. A little help is always helpful!
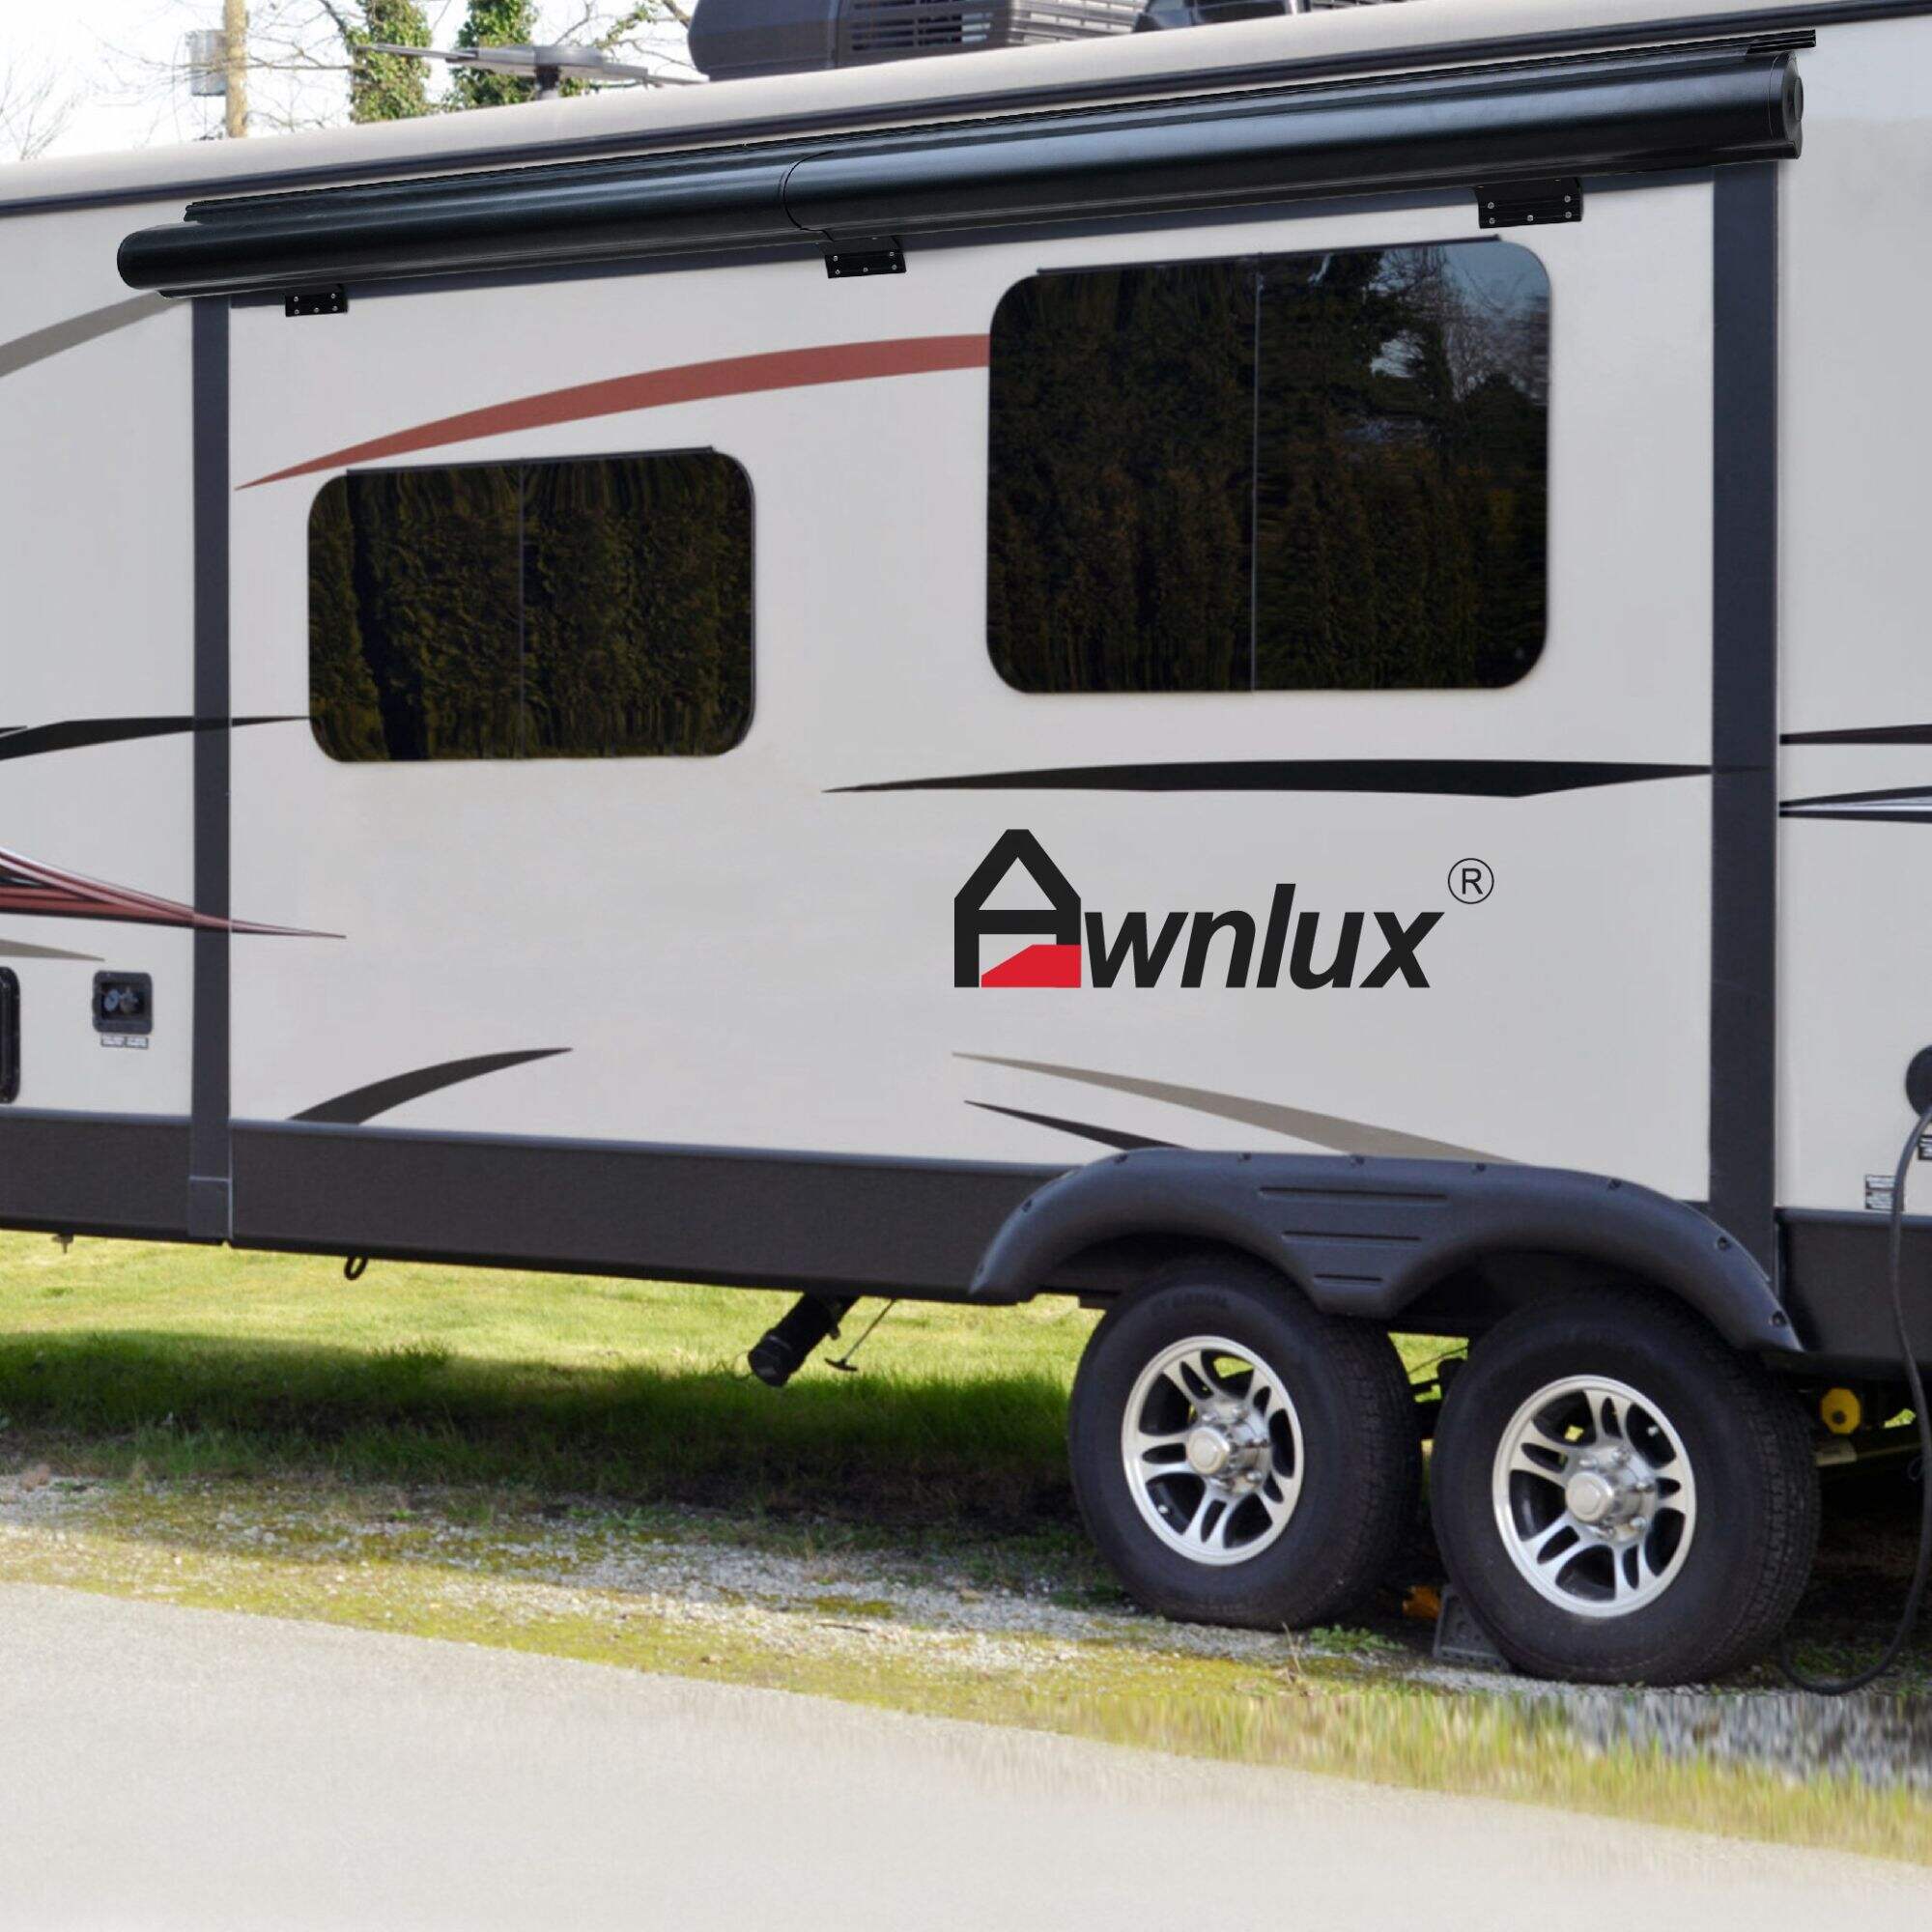
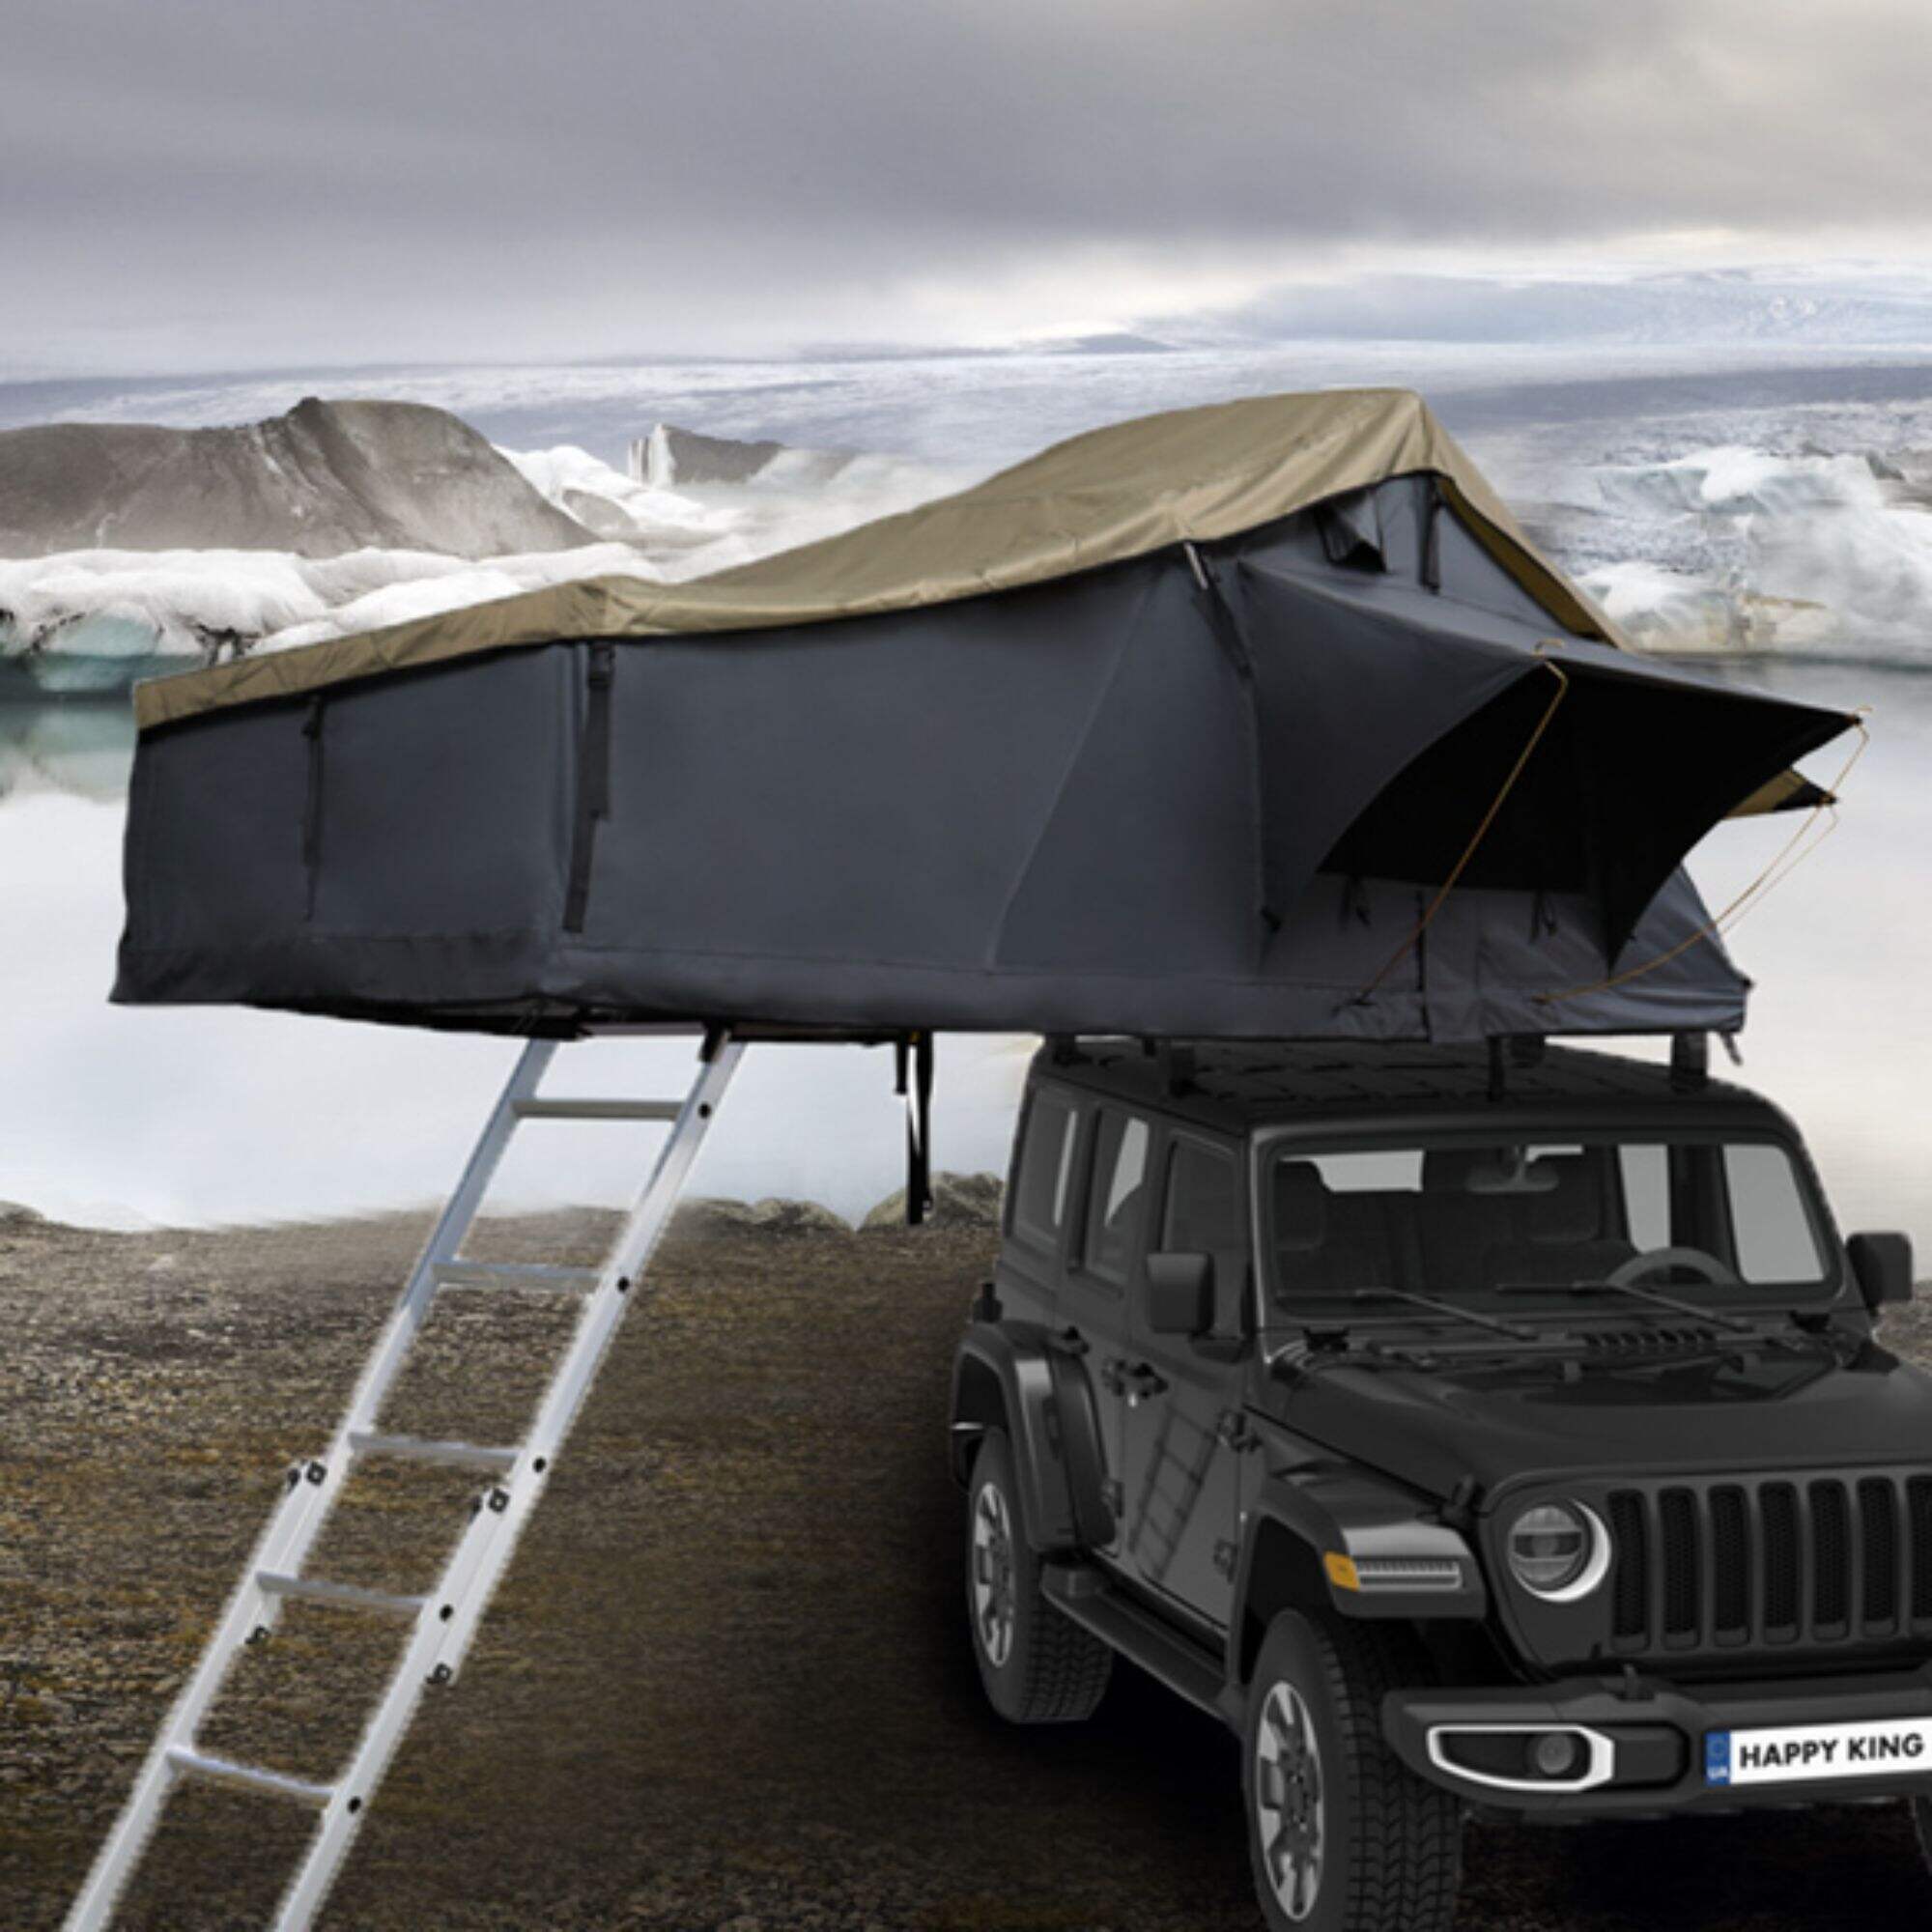
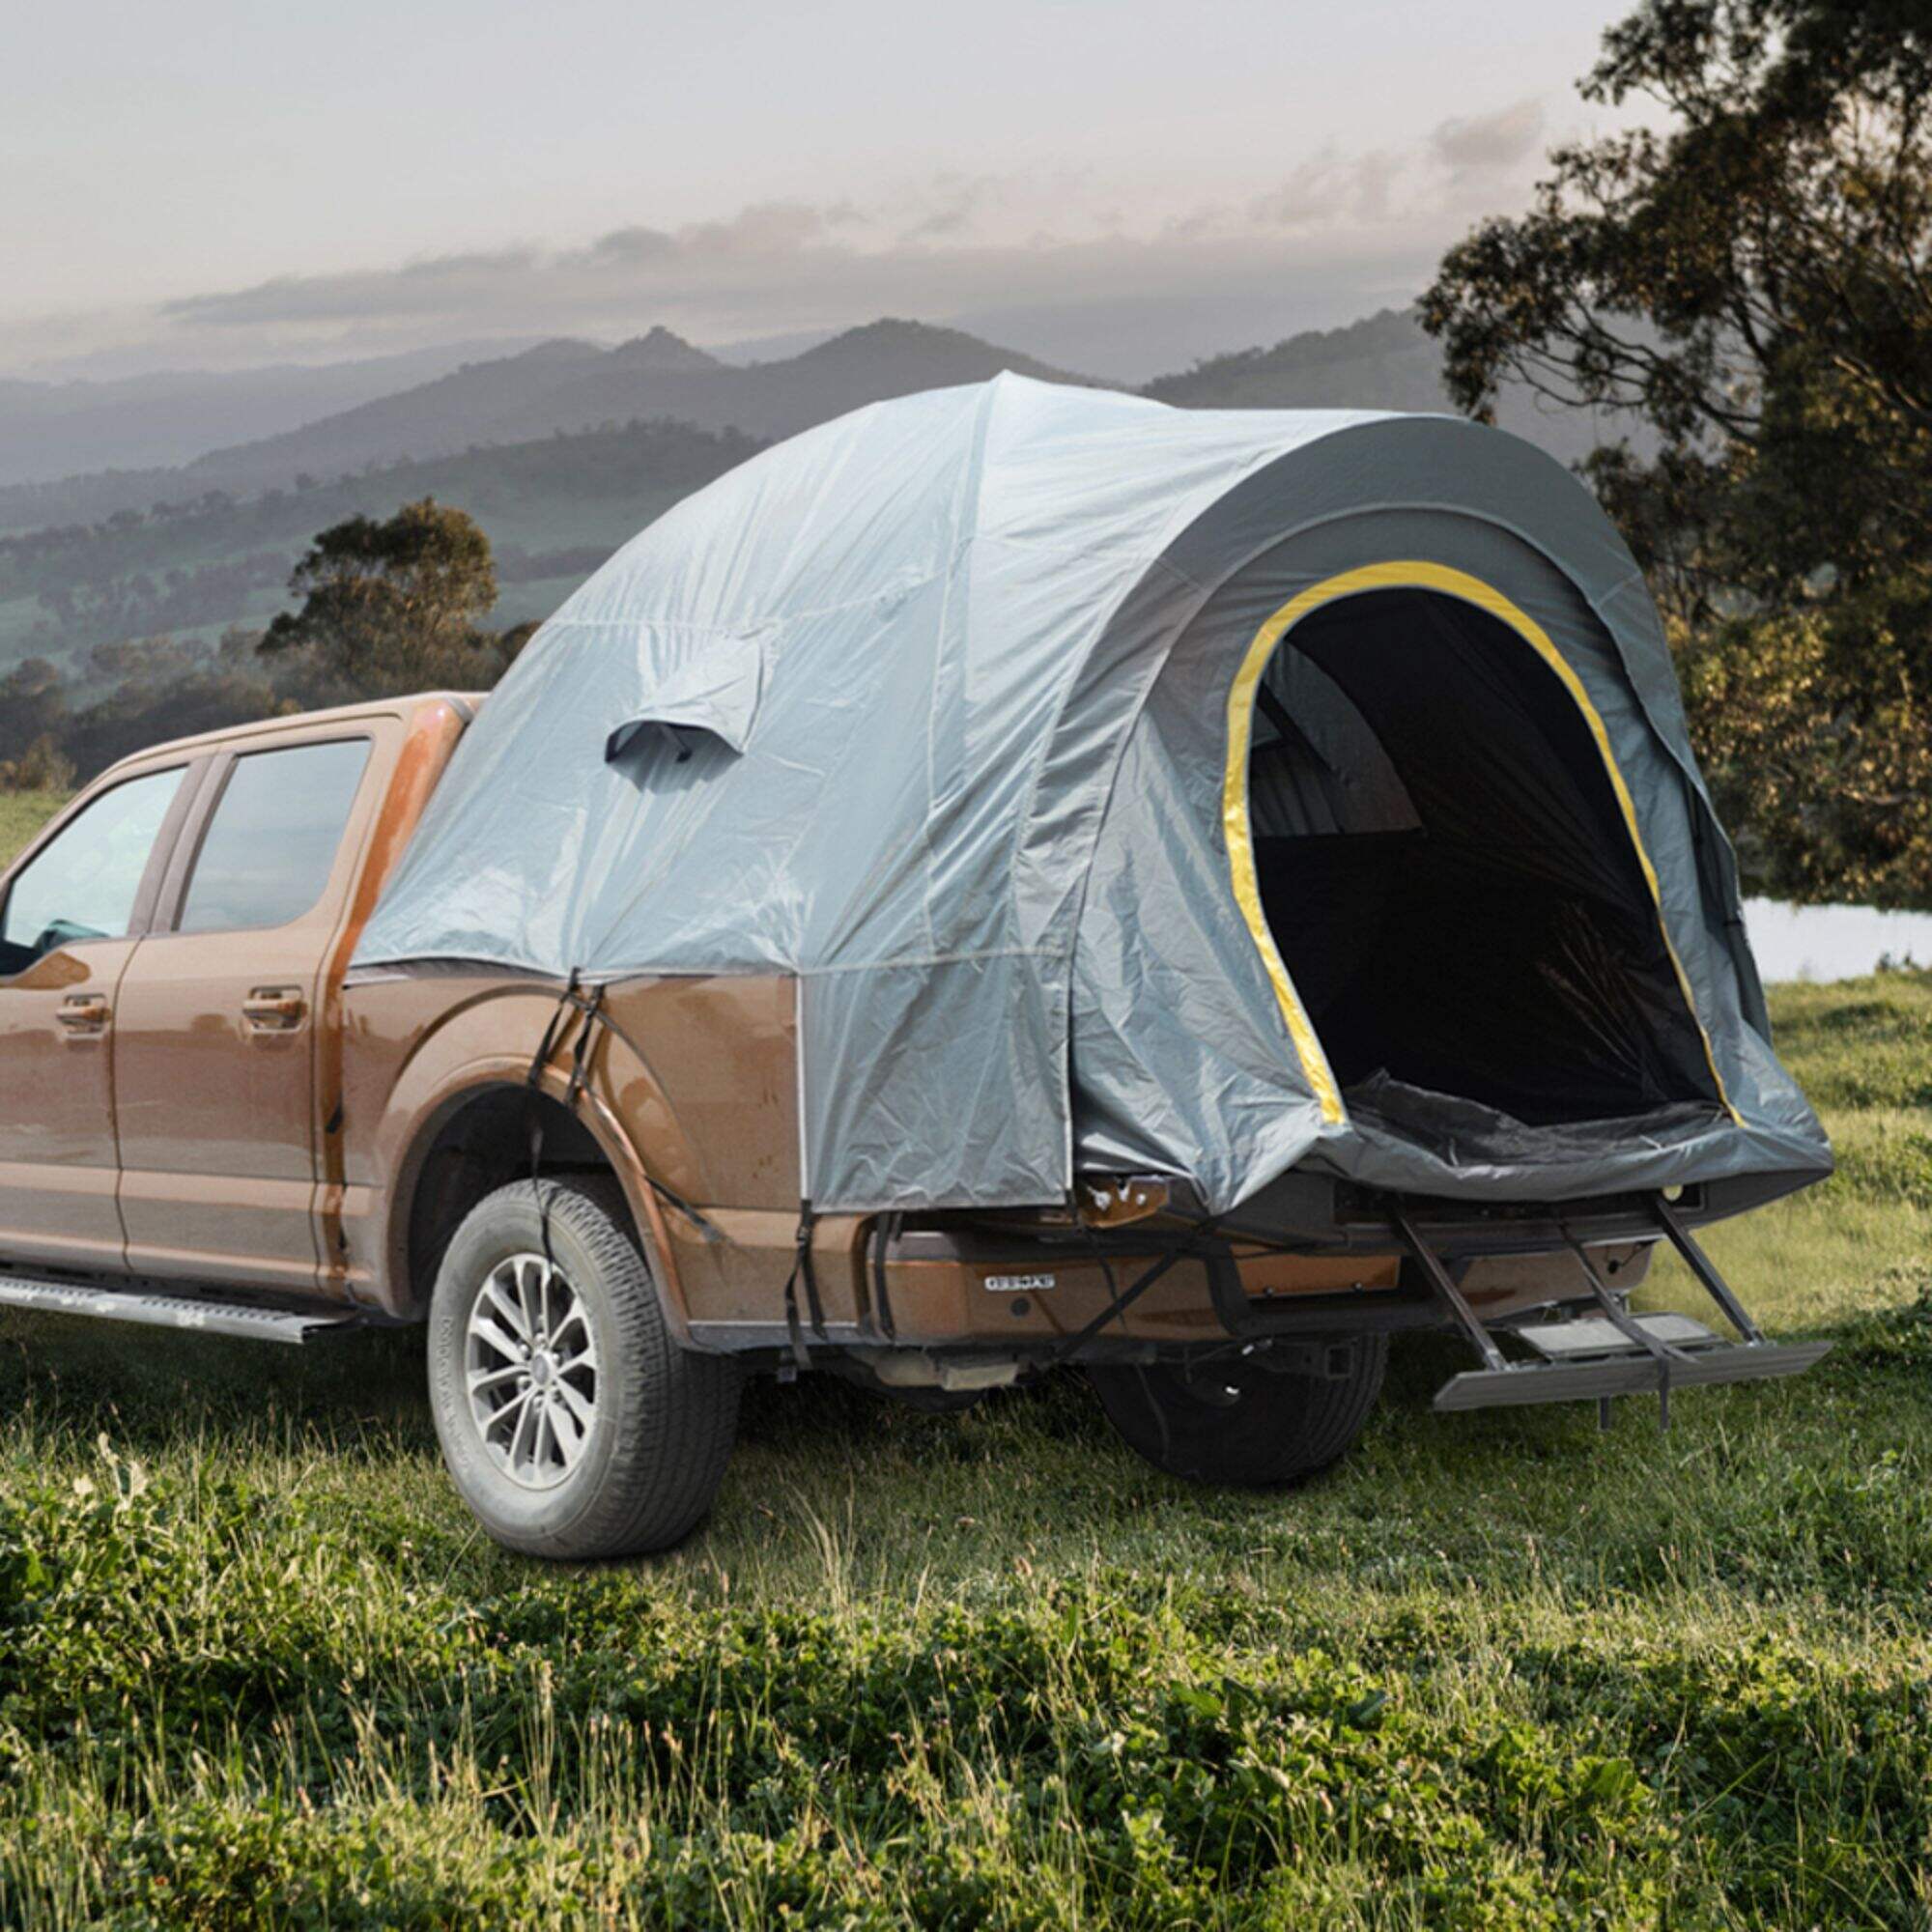
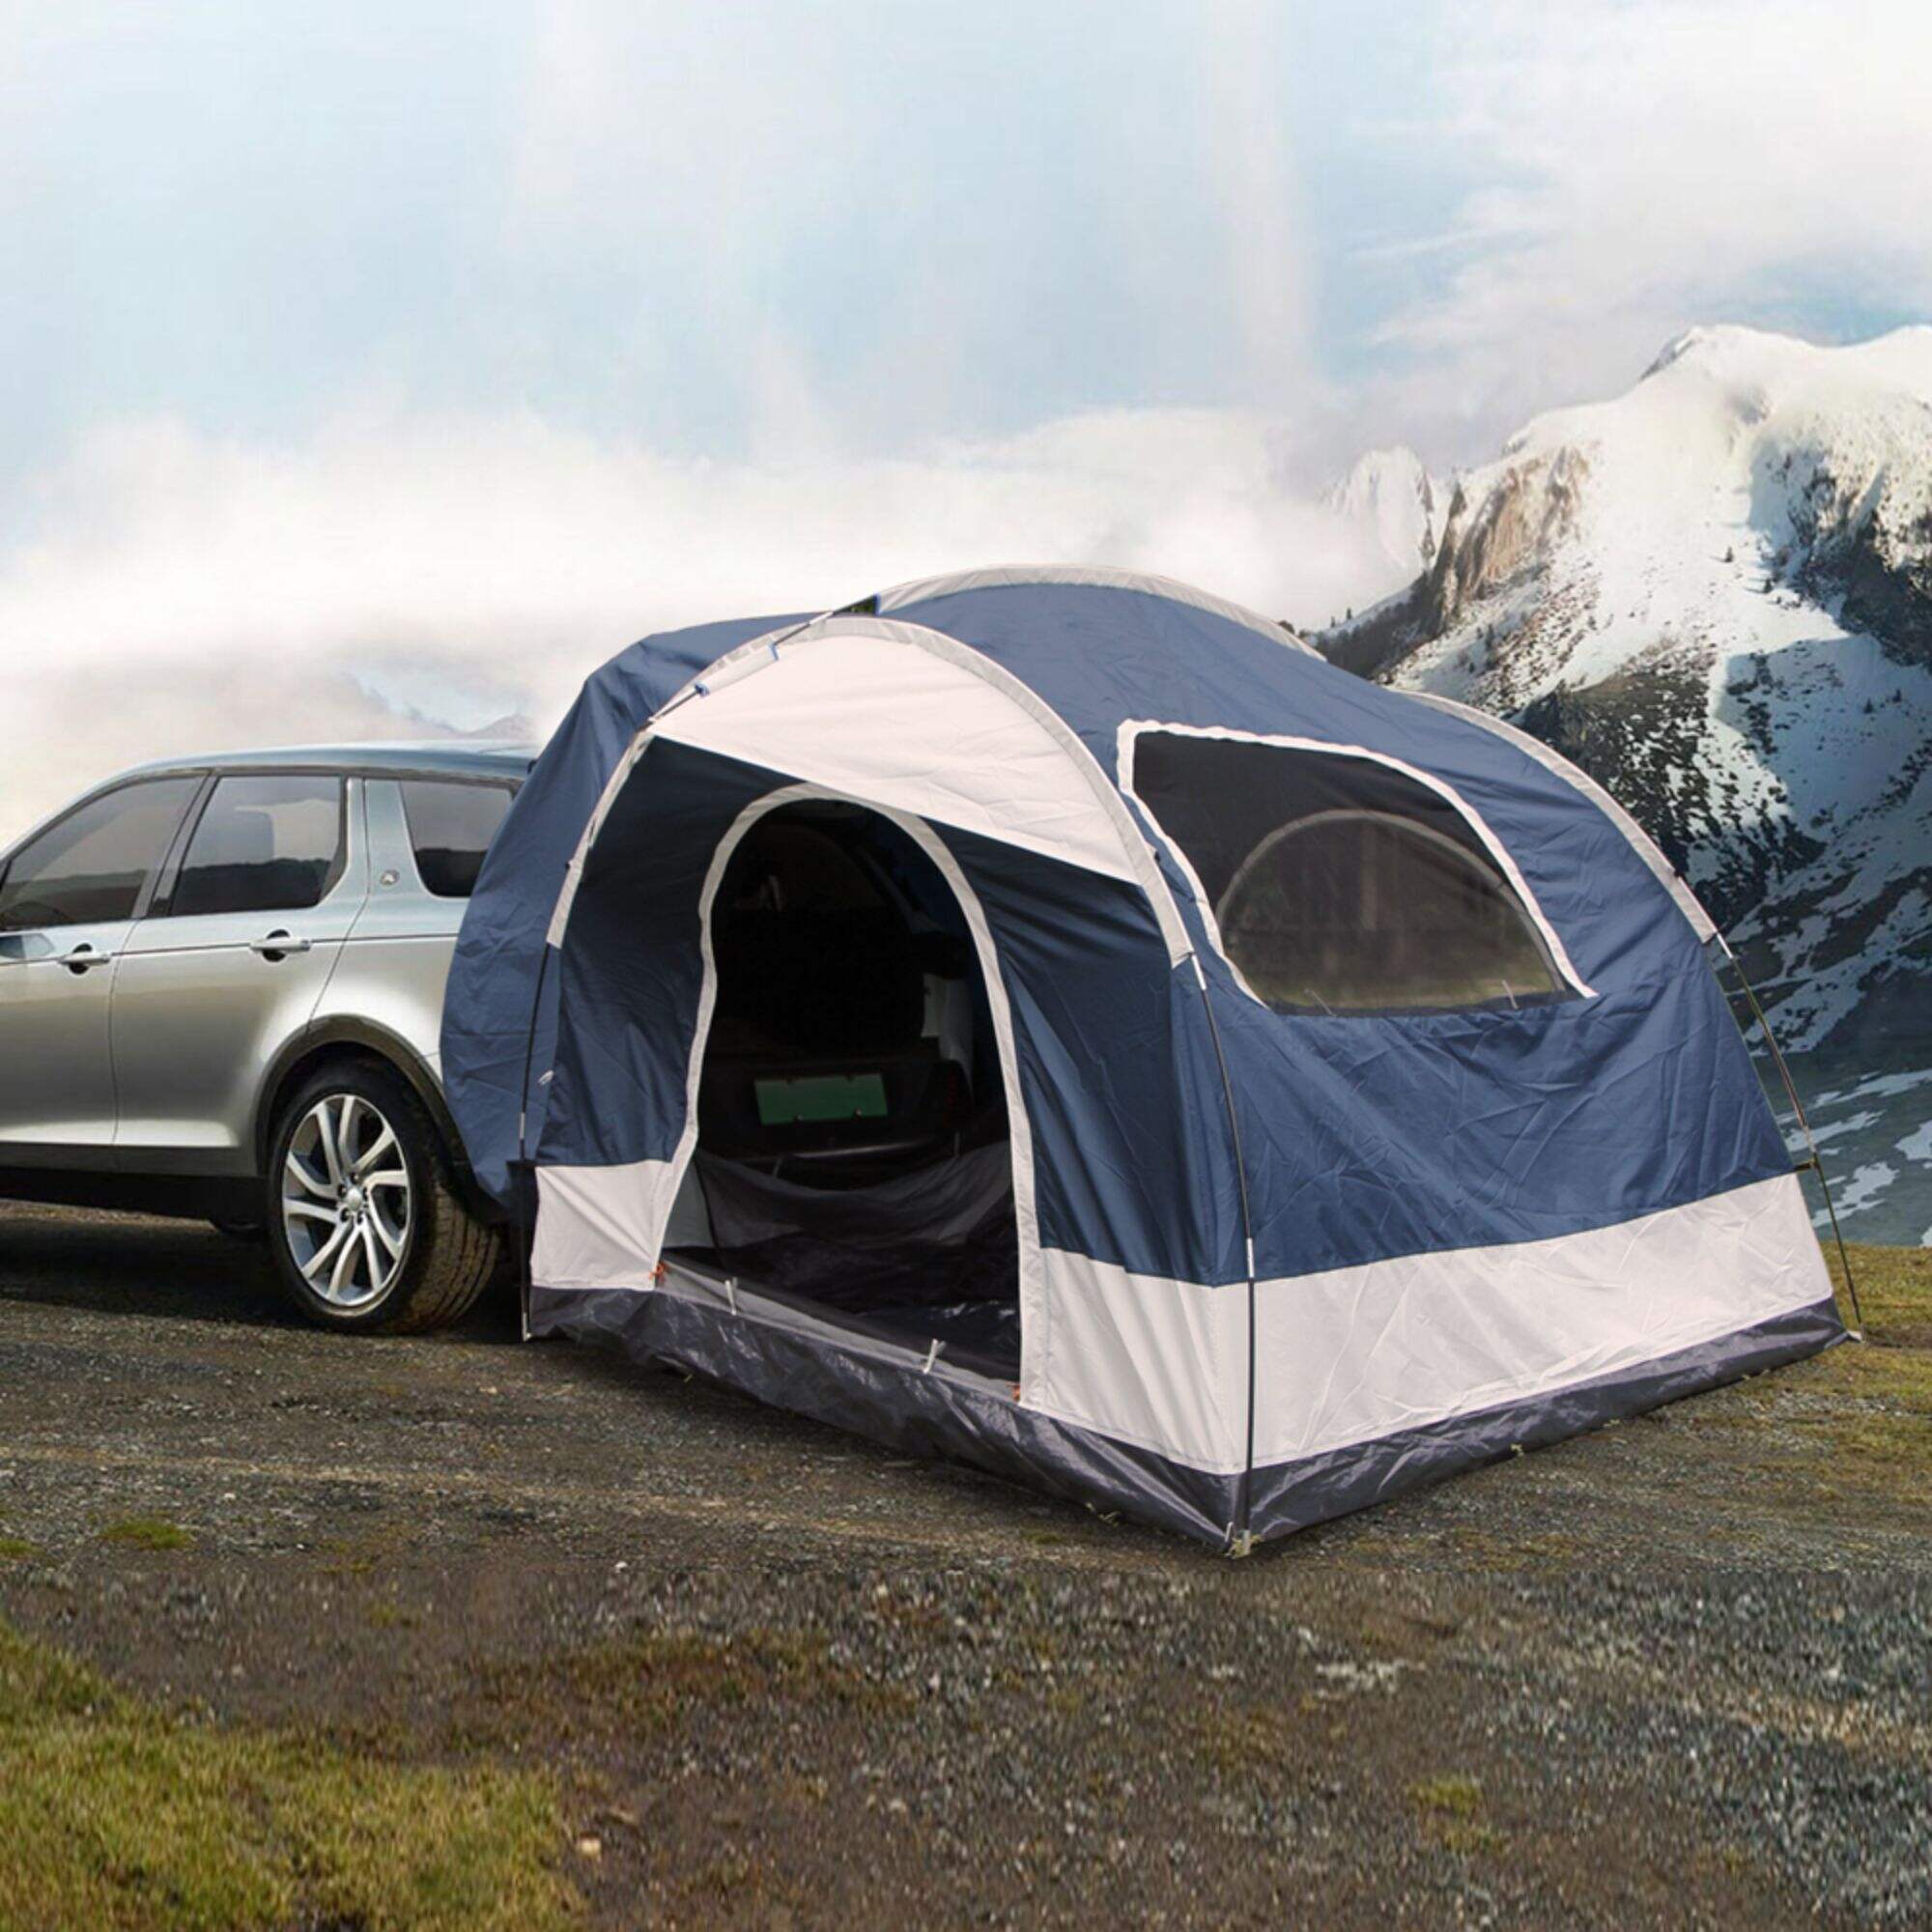
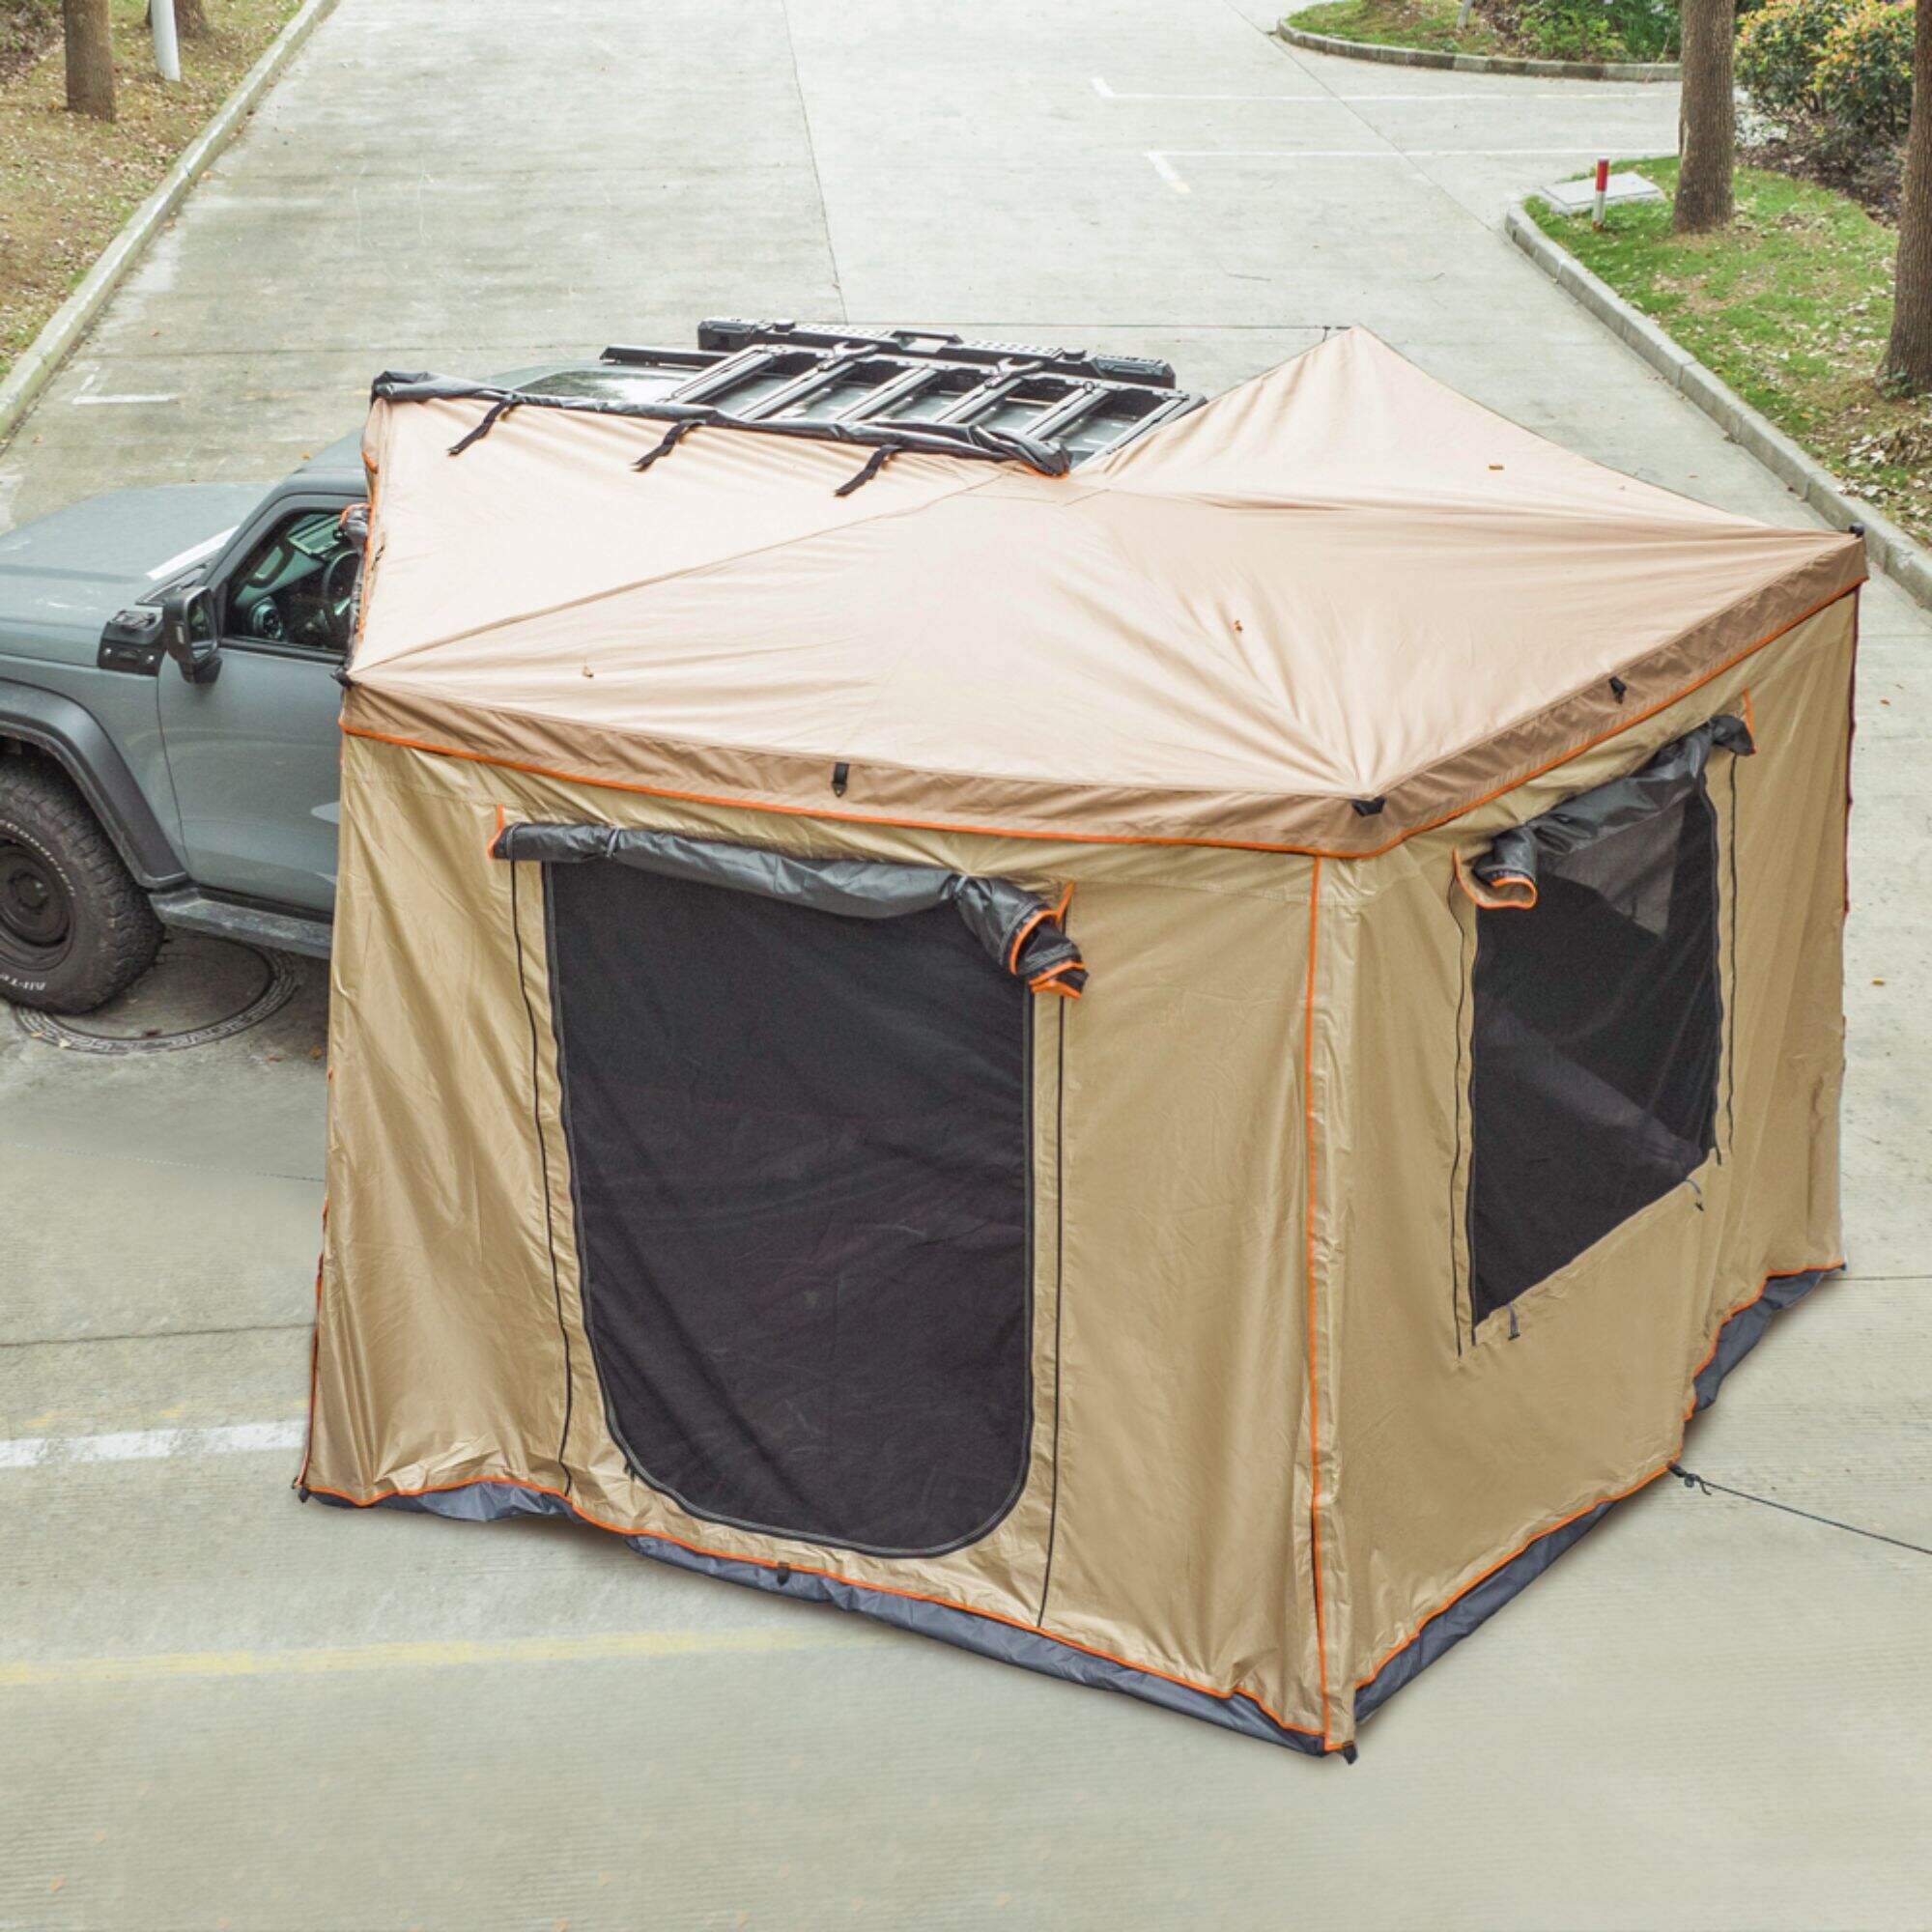
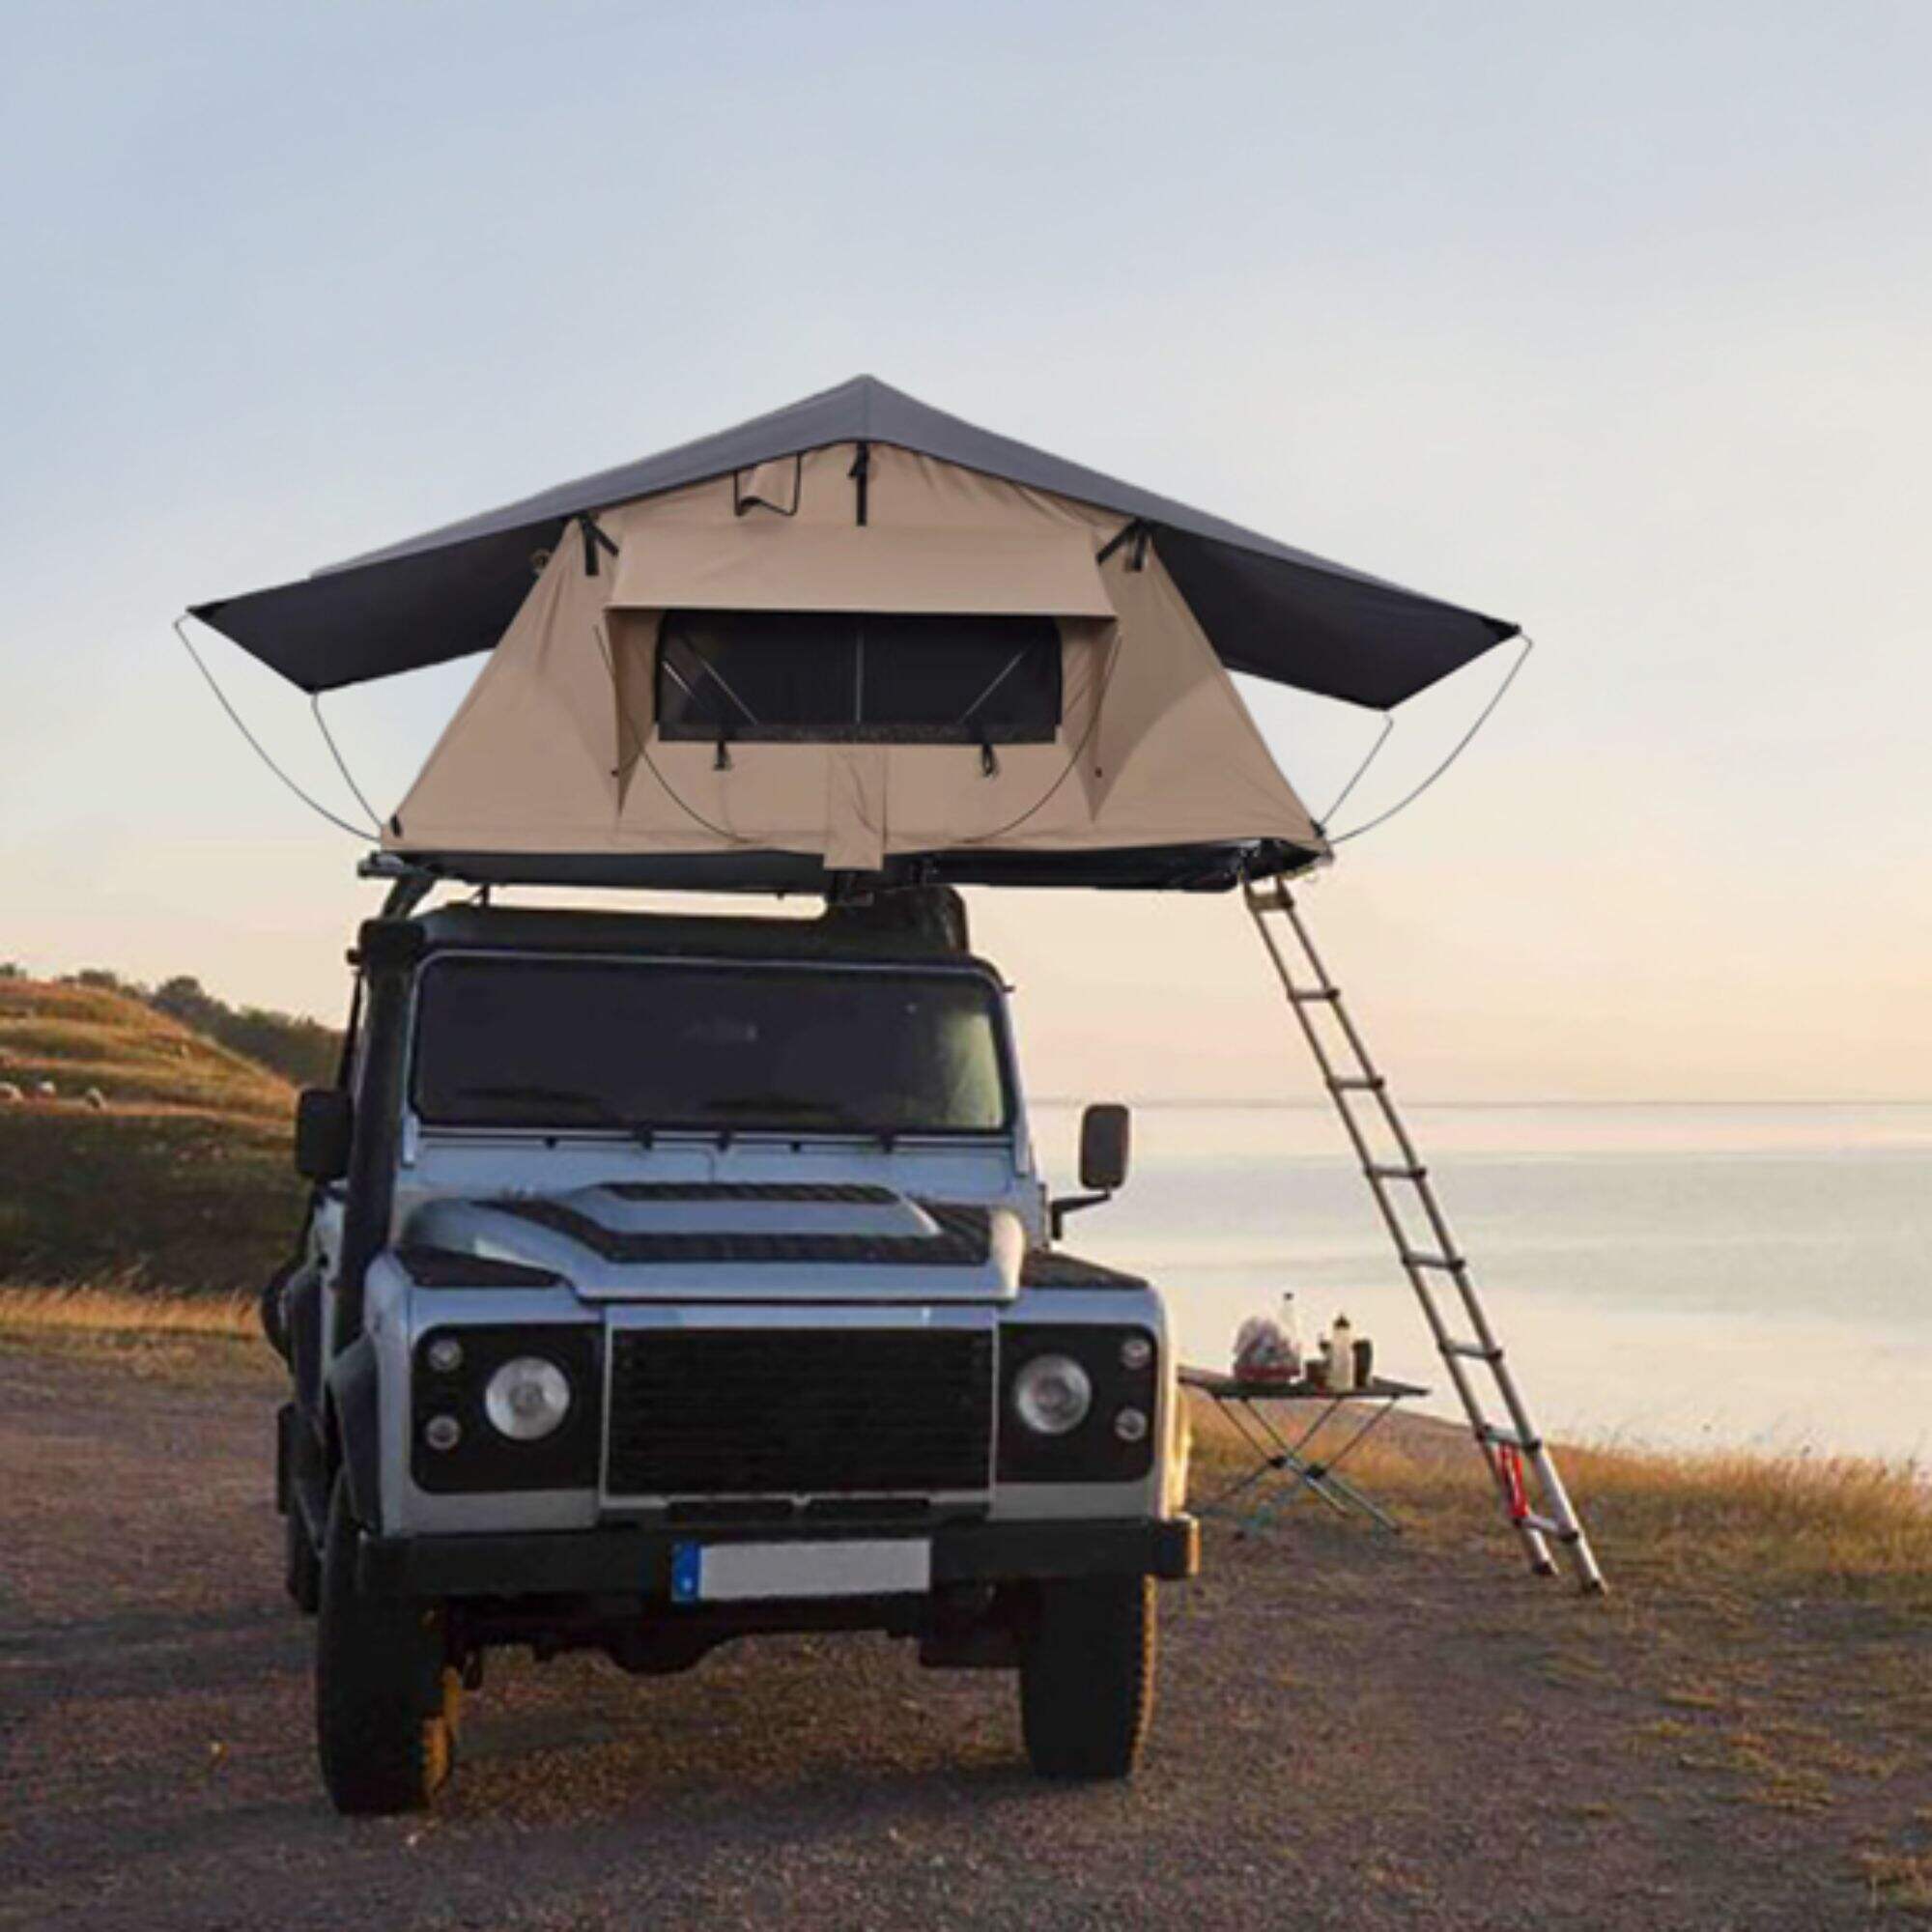
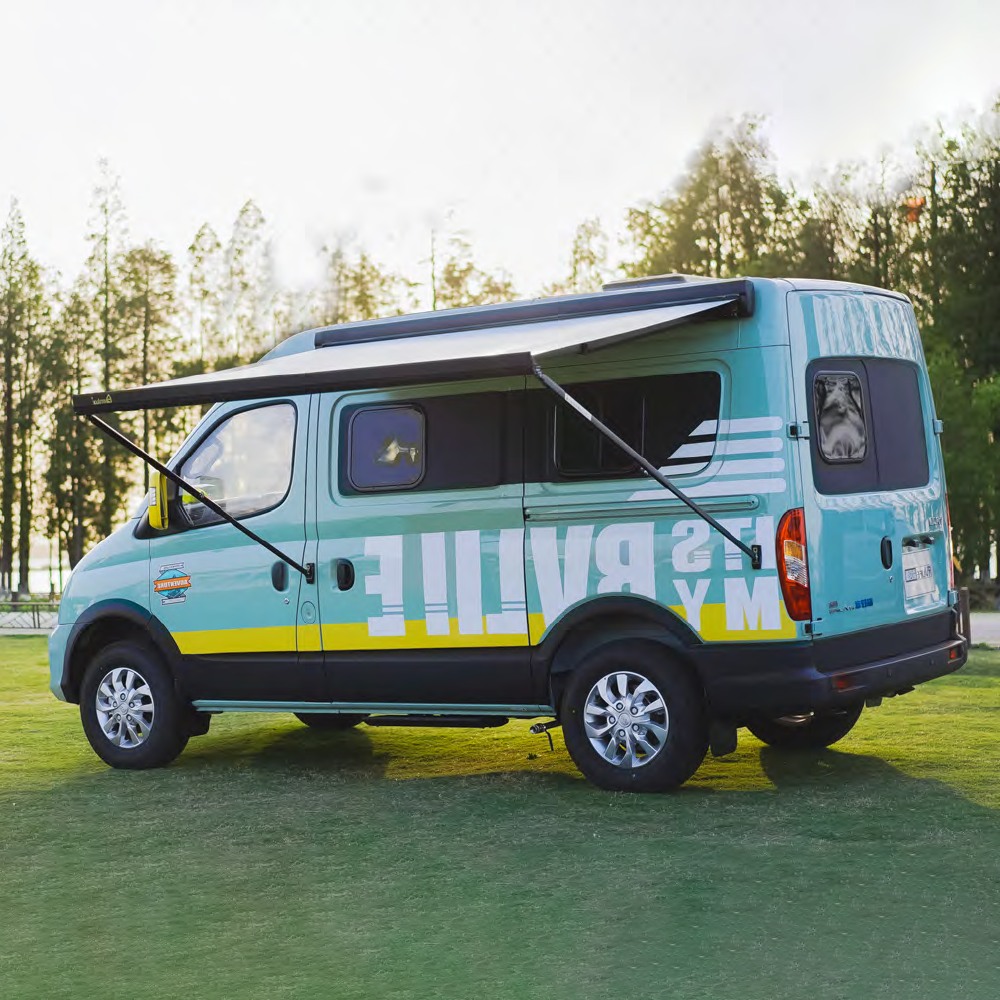
Finally, take a step back and admire your work! Happy new year, with your brand-new Adelaide awnings. Not only will they help protect you from the blazing summer sun, but also decorate your home with an extremely beautiful and discreet graphics.
Awnlux is dedicated to research and development, design and manufacturing of various and distinct products. AWNLUX is currently working with several brands to create OEM products. The market share of China is 70%, while the market share of Australia is awnlux awning installation, and the market share of the US is 5%
Awnlux is awnlux awning installation by lS09001 as well as CE. In addition, we possess more than 10 patents for inventions and the most professional laboratory in China's RV AWNING. Following years of hard work, awnlux has been acknowledged as a "high-tech enterprise" in 2022. We will be a super high-tech company in 2024 in Shanghai, China
Awnlux has a manufacturing center with 8,000 square metres and an RD center that covers 2,000 square metres.Awnlux offers a variety of awnlux awning installation of awnings and awnings from around the world Awnlux is a one-stop shop for a variety of services and products.Awnlux is a company that specializes in creating, designing and manufacturing sunshade. It is currently the holder of over 100 patents, and is committed to creating the most comfortable sunshade product and becoming an industry benchmark.
AWNLUX offers multiple warehouses and sales models across the United States, Canada and other countries. They also provide 24 hour awnlux awning installation and online support and support.
 EN
EN
 AR
AR HR
HR CS
CS NL
NL FI
FI FR
FR DE
DE EL
EL HI
HI IT
IT JA
JA KO
KO NO
NO PL
PL PT
PT RO
RO RU
RU ES
ES SV
SV TL
TL ID
ID SR
SR SL
SL UK
UK VI
VI SQ
SQ HU
HU MT
MT TH
TH TR
TR MS
MS AZ
AZ KA
KA LO
LO MN
MN MY
MY KK
KK KY
KY